Wireshark: Network Packet Analyzer
Wireshark an Overview
Wireshark

Table of Content:
- Introduction
- The Purpose of Wireshark
- Basic features
- Installation on Linux
- First look at Wireshark
Introduction
Communication between devices connected to the internet or a network involves the exchange of data between the devices using establish protocols, addressing schemes and media of transfer. This ensure efficient data transfer over different types of networks. In this blog, I am going to talk specifically about packets and how to use Wireshark to view each packets that a device is receiving or transmitting.
When data is sent over any type of network, the whole data is not sent. The data sent will first be cut into multiple pieces called packets then when all the packets reach its destination, it is then assembled into the original data. A packet contains the data and headers. The header contains the meta-data. Some example of such meta-data are: Time to live, Source IP, Destination IP, Sequence number, Protocol, etc...
Wireshark is a network packet analyzer. It is an open-source tool that enables real-time monitoring of incoming or outgoing traffic of a machine and analyze each packets that are being sent and received. Wireshark reads its metadata.
The Purpose of Wireshark
Wireshark is a tool to troubleshoot networks, examine security problems, debugging protocol implementation or learning about network protocols internals. Wireshark enables use to examine packets in details from its sources. We can live capture from different types of connections like: Ethernet port, Wi-Fi, Bluetooth , USB and more.
Wireshark is not an intrusion detection system. I can detect unusually traffics but it will not flag them or warns us. Wireshark is only a monitoring tools to read or measure a packets. Wireshark does not sent packets or do any other activities(except domain name resolution).
For more information on Wireshark, you can consult the documentation or this very useful Youtube playlist for a deep-dive.
Features of Wireshark:
- Available for both UNIX and Windows
- Live capture of network interface
- Display packets with detailed protocol information
- filtering packets
- color coding of packets
- saving a capture session for later analysis
Installation on Linux
In this example, I will be using Ubuntu 22.04.3 LTS.
To install Wireshark, first lets update our repository using the commands:
sudo apt-get update
 |
| Get the updates |
sudo apt upgrade
 |
| Upgrading the repository |
Installing Wireshark:
sudo apt install wireshark-qt
 |
| Install Wireshark |
The configuring Wireshark-common is basically saying if you want other login profile to use Wireshark.
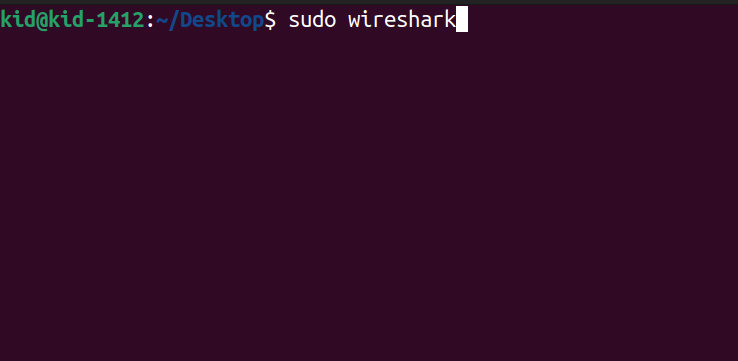
sudo wireshark
First Look at Wireshark
 |
| Welcome to Wireshark |
This long list is just what Wireshark can listen. enp5so is my ethernet port, wlp5s0b1 is my Wi-Fi, and 'any' is to listen to all ports that are available.
Lets enter our Wi-Fi.
The first panel is called the packet list. It shows in order what packets are being sent and received.
The middle panel is called packet details. It shows all the meta-data of the packets in an orderly manner.
the bottom panel is called packet bytes. it shows the bytes of the packets.
we can customize our layout on 'Edit -> Preference'.
or we can use the keyboard shortcut 'ctrl + shift + P'.
In preference, we then go to layout.
Lets change to the second layout and change the 3rd panel to packet diagram.
The packet diagram give us a visual representation of the inside of a packet. It is quite intuitive for a beginner who wants to learn about networking.


Comments
Post a Comment